Friday, 28 March 2014

Dirtying down, how to break down an artist/models make-up. Dirt, stained teeth, and dirty hair

Dirtying the skin
Dirtying down your model includes getting dirt in the creases of the face, hands and under the nails. There's also a really easy way of making the teeth look unbrushed and dirty.

Equipment used:
-Greasepaints (black, brown & red)
-Krylon Tooth enamel
-Brill Cream (to give hair a greasy appearance)
-Colored hair spray
-Dry shampoo
-Cotton buds
-Makeup brushes
-Methylated spirits (removal of tooth enamel)

Using Tooth Enamel
•     Have your model open their mouth and dry the tooth with a cotton bud.
•     Apply either the black, brown tooth enamel onto the tooth and keep the lip raised to allow the color to dry.
•     Next shade around the edges of the teeth to create a 3D, more realistic effect
•     Always check the teeth throughout the shoot and have toothpicks and cotton buds on set so that you can correct the teeth.
•     For removal take a small amount of methylated spirit onto a cotton bud and gently roll on the tooth.

Dirtying Down
•     Start by applying a moisturizer to areas that you want to appear the dirtiest on the skin.
•     Next spray colored hairspray to make the area darker on the skin or you could use some grease paints (remember to use the correct color of “dirt” for the surroundings that you are shooting in).
•     Then apply brill cream to make the roots of the hair appear greasy, as this is the area that becomes greasy first.
•     Spray a very small amount of dry shampoo on the middle and ends of the model’s hair to make it look dull. 

•     Always make sure you have dirtied down any areas of clothing or other body parts such as neck, chest, hands, forearms and possibly feet that need to be dirtied down to create a really authentic look.


Tuesday, 25 March 2014

Fashion Hair Techniques: Smooth and Shiny Hair

Creating a Sleek “Femme Fatale” Style
Equipment Needed:
-Hair dryer with a concentrator nozzle
-Denman brush
-Hair grips
-Round brush
-Sectioning clips
-Comb (Fine tooth)
-Hair mousse
Instructions:
-Brush out the hair, and start blow drying the hair in sections
-Make sure to get a lot of tension in the brush and blow dry downwards to create a much sleeker blow dry.
 -Make sure the hair dryer is flat down and working the hair brush and dryer in the direction you want the hair to go in.
-Always make sure that you have good tension and ventilation.
-Once you have straightened all the hair, brush it back with a Denman brush.
-Pump some mousse into the palm of your hand, and run your comb through it to pick up some product.

-Start to comb the mousse into the hair to slick the hair back and to keep it in place.


Thursday, 20 March 2014

Cuts and Scarring using Moulds

Equipment needed:
- Prosaide
- Cotton buds
- Greasepaints
- Blood
- Pro-clean
The moulds had already been made, so all we needed to do was take them out carefully using a T-pin.
-Clean the area you will be applying the prosthetic to, remember NO GREASE! This    means no applying moisturizer on this occasion as it will make the piece difficult to stick to and maybe slip off! 
-Apply prosaide to the flat side of the prosthetic using a cotton bud, make sure you get product all around the edges to ensure it sticks to the skin!
-Place onto the area and roll the edges down using a cotton bud to flatten it down, it will sick down pretty easily and quickly
-Damp a cotton bud and press around the edges to blend them into then skin
-Powder to take away shine if necessary and paint your piece.
-Add blood to make it more gory.


Monday, 17 March 2014

The End of Great Expectations

The highlight of the whole Great Expectations Project was definitely the practical side of it. I thoroughly enjoyed learning to work with prosthetics and all the different products, as all I'd really done up to this point was focussed around beauty makeup. 
I also found it extremely interesting to learn out how much goes into creating a character, and how much can influence one characters hair and makeup. I have truly enjoyed the historical aspect to the project as well, and like the 'New Elizabethans' project, I have found it interesting to see how much of the Victorian Era still influences us today.

Saturday, 8 March 2014

Miss Havisham Timed Assessment Part 2

Below are some images from my second Miss Havisham Timed Assessment:


I was quite disappointed with the way these photo's turned out, as they clearly looked very different from the first look. The hair turned out looking more like a beehive than a French Pleat! The fringe was much straighter and I did not curl and back comb it enough. In terms of the make up, I think the make up looked quite similar, although it was a little more exaggerated.

Estella Final Images

Here are my final images from the Estalla Assessment:


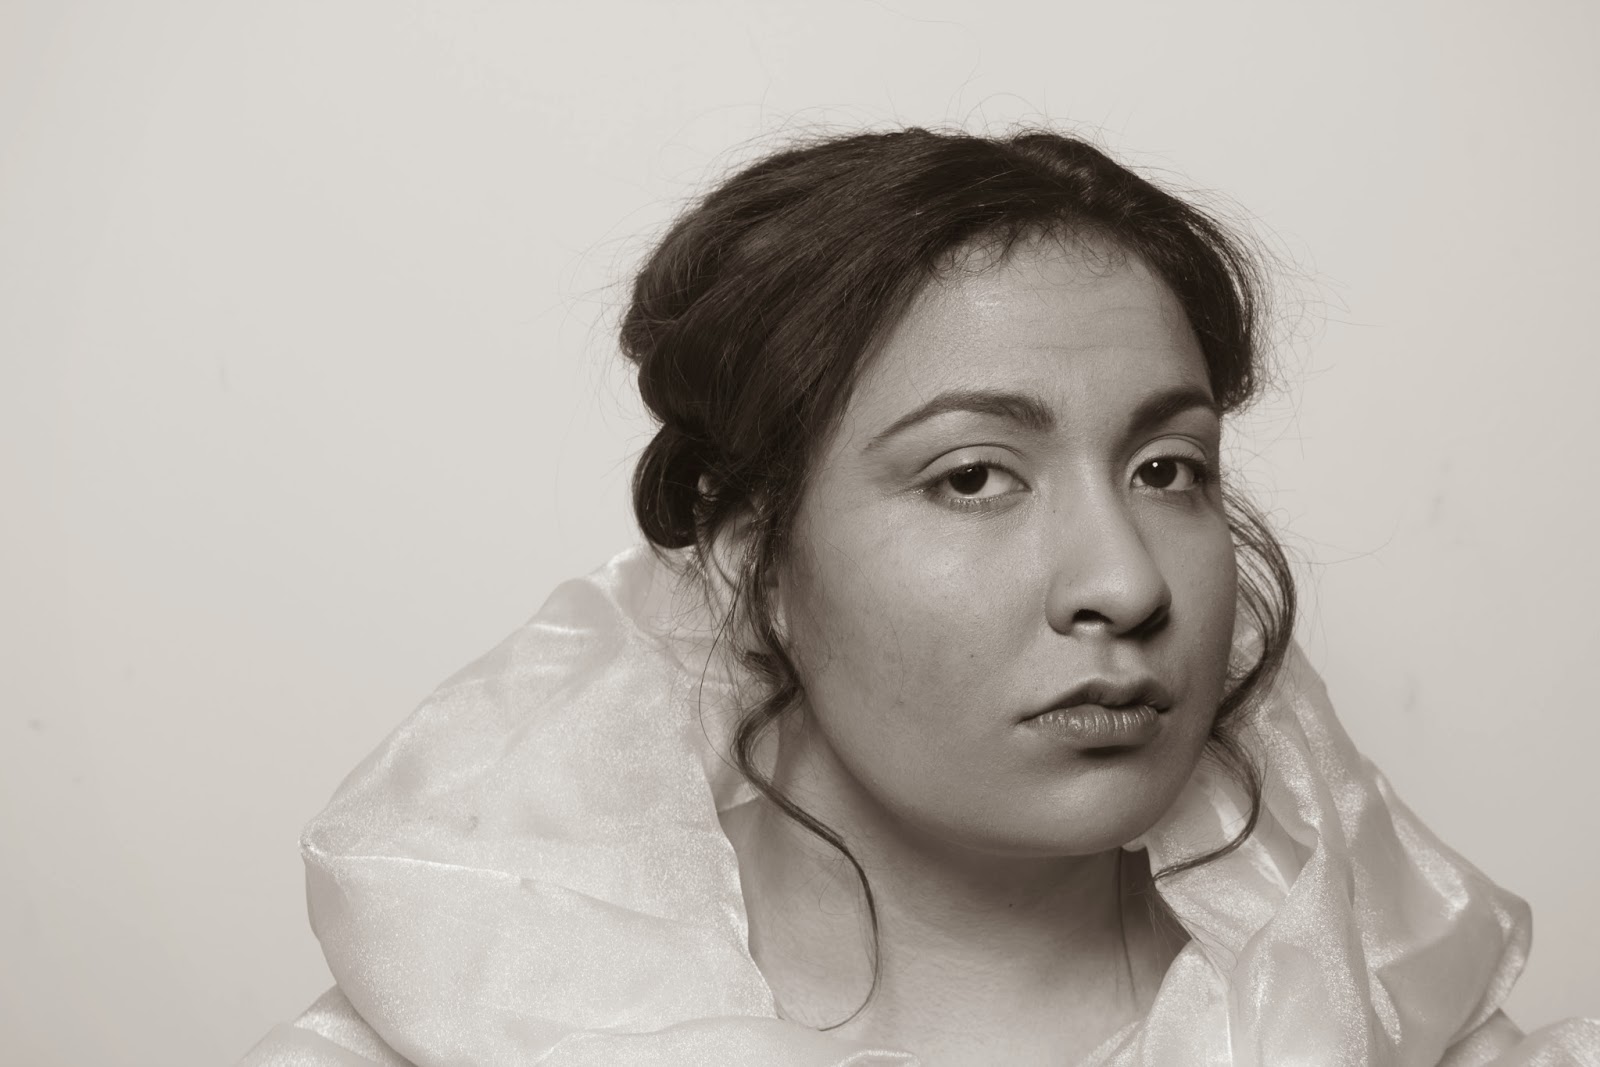
I am pleased with the way my look turned out overall. I did have some difficulty with my models hair, as I needed to curl it, but where she had straightened it that morning, it wouldn't curl properly. I definitely learned a lesson in prepping the hair correctly! The makeup turned out just as I wanted it to, and I think that the lines and wrinkles show up especially well in the black and white images.

Tuesday, 4 March 2014

Creating Bold Hair with waves


Equipment needed:
-Dry shampoo
-Pintail comb
-Tongs
-Grips
-Pins
-Clips
-Hairspray
-Paddle Brush

Instructions:
-Create a French Pleat in the hair, leaving the front section out.
-Part the front section of the hair in the middle
-Using your tongs, start to curl about 1.5cm sections of hair in even sections vertically down the head.

-Secure each curl with a hair grip as you go, so that the curl sets better.


-Once all the hair is in place and cooled and set (If possible, leave to set whilst makeup is being done etc), remove the grips, and gently brush out using a paddle brush or wide tooth comb.
-Using your fingers, twist the ends so that the hair all curls into the same direction.